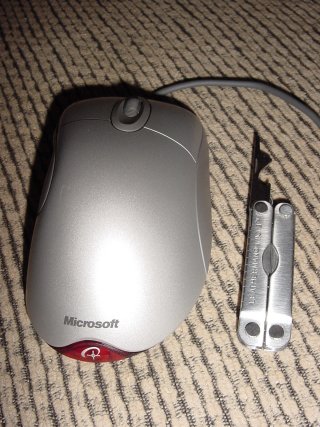
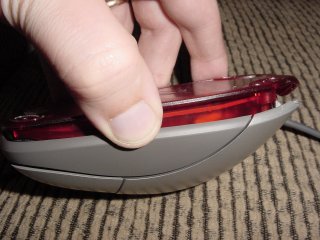
Fix Your Broken
Not-So-Intellimouse Explorer:
Nine or Ten Steps

by Woody Thrower

The Intellimouse Explorer apparently has some real issues, as you can see by searching groups.google.com for broken intellimouse explorer.
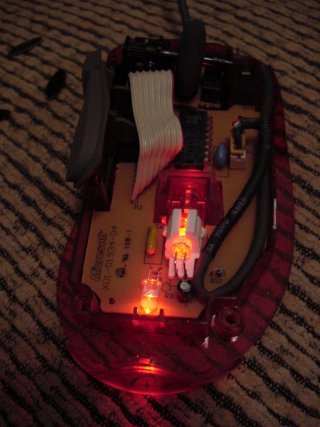
Symptoms
  • Mouse freezing temporarily
  • Light flickering
  • User shouting obscenities

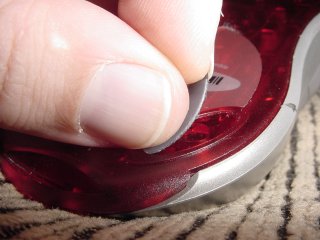
If you're seeing two or more of the above symptoms, these instructions might help you. I've personally had two Intellimouse Explorers break like this. It seems like a design flaw. Rumor has it Microsoft is pretty good about replacing them, but if you're like me, you'll jump at the opportunity to void your warranty.


What You'll Need

  • A broken Intellimouse Explorer (these are easy to come by)
  • A computer to test it with
  • A relatively small screwdriver (preferably Phillips)
  • About ten or fifteen minutes
  • Electrical tape (optional)
I used the handy dandy little flathead screwdriver on my Leatherman Micra, so I had to press extra hard to avoid stripping the screws.

The electrical tape is for my untested idea of reinforcing the weak spot so it doesn't break again. The whole process took about two hours, but it probably takes about ten or fifteen minutes if you don't stop to take pictures and write HTML. Maybe less if you're really fast.


1. Remove the feet from the bottom, exposing the screws. Be careful not to touch the adhesive side of the foot, and put it somewhere out of the way, because you'll probably want to reattach it later.


2. Remove the screws.


3. Lift the cute little glowing butt part firmly but carefully (pervert).


4. Once the flat red translucent bottom is loose, lift the edge on the side without the thumb-buttons.


5. The shell should pop loose. You might want to press the side buttons in to help wiggle it loose, since they're attached to the base.


6. Once it's open, it should look something like this. Note the lovely ninety degree kink right where the wire leaves the casing.


7. That kink is probably where the wire is broken. Loop it around inside, and kink it in the opposite direction, then make a new dangerous 90 degree kink. (If you were doing this "right" you would probably cut and splice the cord, but that takes a lot more time.)


8. At this point, you should probably plug it in and make sure the light comes on. You might have to wiggle the new kink around a little to get it working. I did that while it was plugged in. I'm not sure that's a good idea, but that's effectively what's been happening anyway, so I figure it doesn't really hurt anything.


9. Once it's working, if you're smart (and I'm apparently not, since I put my mouse together without doing this -- I guess I'll be taking it back apart) you'll try to reinforce the weak point and spread the stress. You might do this by wrapping the entry point with electrical tape or something so it doesn't break again. The idea is to make it more like this mouse.


10. Put it back together. I think you can figure out this step without more pictures.


Copyright © 2001 Woody Thrower <woody at snark dot com> All rights reserved.